First of all: Sorry for my English… again :) – I tried to make a lot of pictures to explain, what I was doing and hope you’ll understand. If not, ask.
About 12 years ago, I had once built a small kitchen block for the T3, which basically consisted only of a homemade wooden box, a sink, water cans and some electrical equipment. There was also an additional built-in connection for a shower hose, but we honestly never used it. The sink and the access to fresh water we have used very well from time to time, and it rarely went beyond brushing the teeth in wild camping and coffee. The block flew out pretty soon.
For a long time I had not thought about a new construction in the T5, because a) the space was suddenly even more precious because of the children and b) I could not imagine a meaningful purpose. But since it was time for a small project again, I tried to find some reasons:
- The portable cool box is 99% on the van anyway, most of time in the trunk and thus hard to reach while driving. Is it in the passenger compartment, the space is occupied anyway.
- There is still a lack of space for things that should be accessible quickly, despite a variety of storage space extensions, so a few additional drawers could not hurt.
- A possibility that the children can wash their hands makes sense.
- …I just wanted to try it out, done!
Due to time constraints, I have to divide this project into several sections and hope that this will become one, which I actually complete (at least three other projects have not been completed in recent years).
So here is part one.
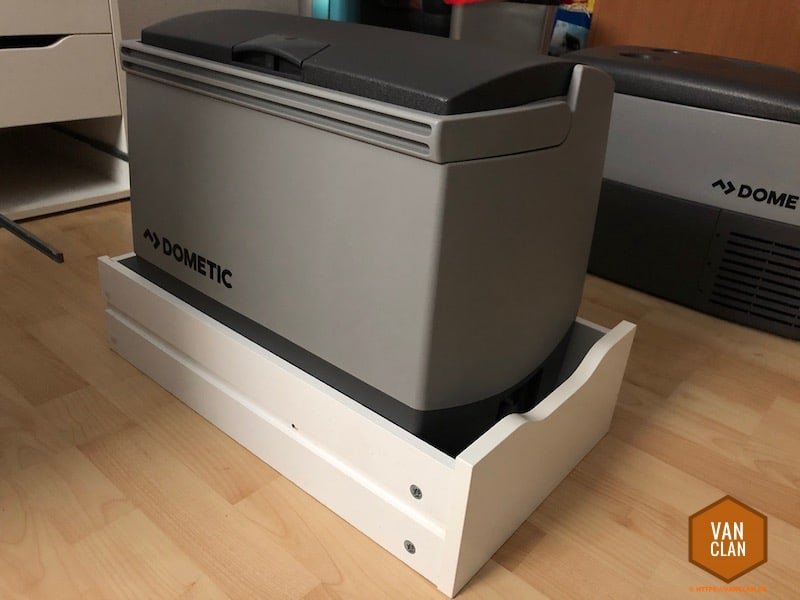
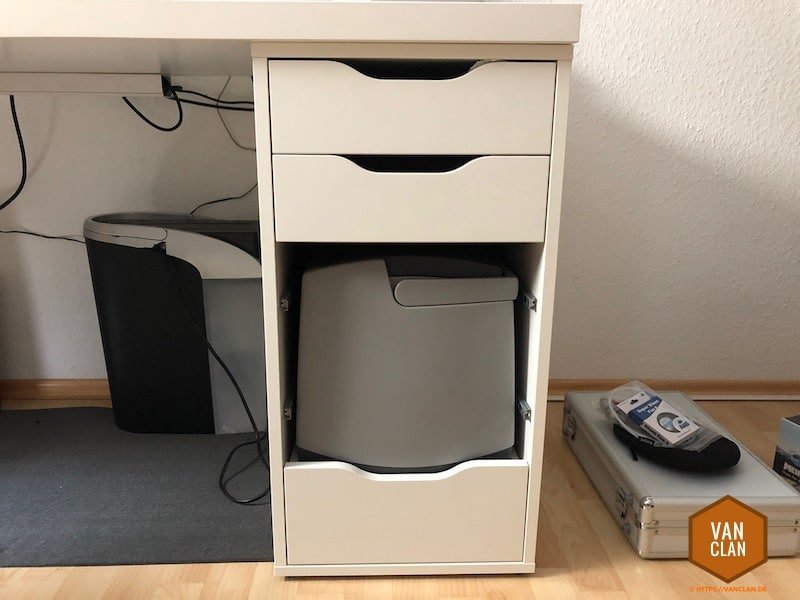
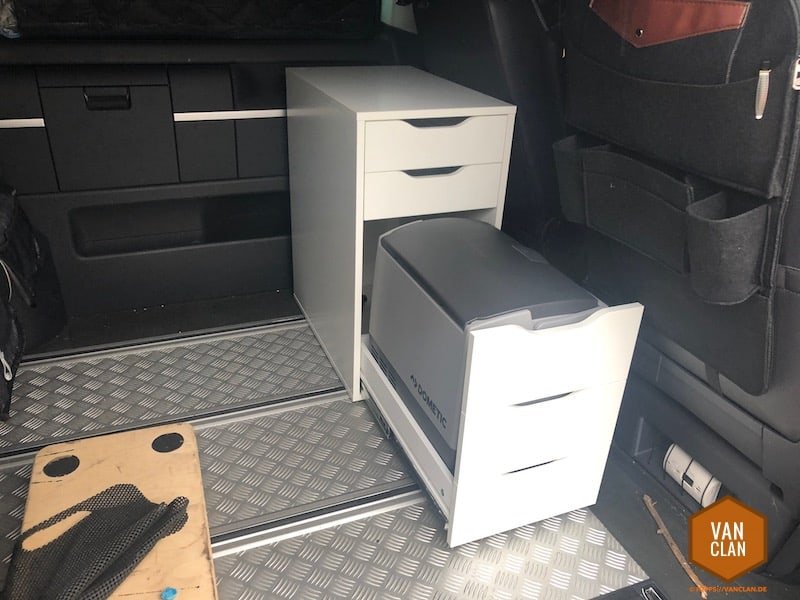
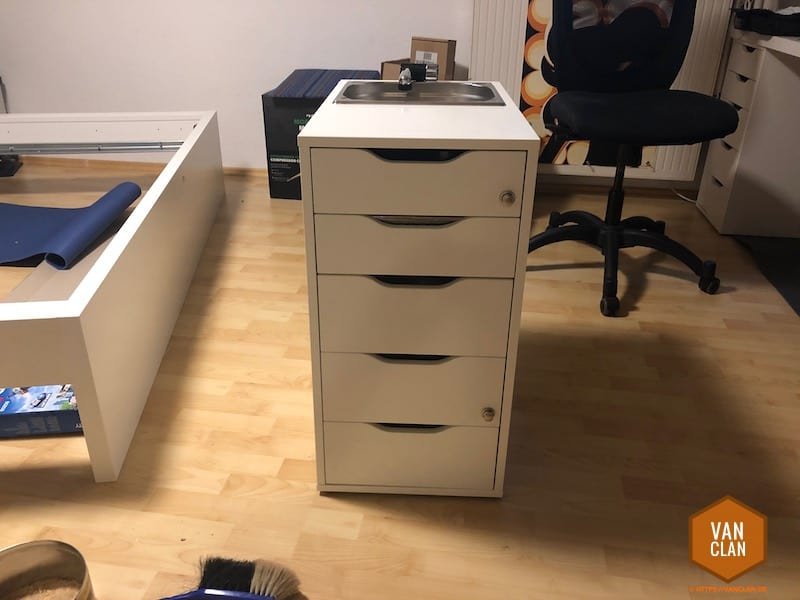
As a basis I had decided for the drawer unit Alex of Ikea, because there are already some successful conversions on the Internet to admire, my new compressor cool box fits perfectly in it and – the main argument – this thing was already under the desk.
The cooler should come in a large drawer at the bottom, which should be created in the way that I connect the panels of the lower three drawers with each other and remove the bottoms.
 It quickly became apparent that the original drawer slides would not be suitable for a 20kg cooler and the drawer would not open wide enough and I decided to order these heavy duty drawer runners. In hindsight, I would perhaps take some with locking, but I somehow had the idea that the drawer would remain while driving anyway. That’s nonsense, the forces acting on the drawer are so high even when maneuvering out of the parking space that it opens (and closes again when you steer in the other direction). So either take rails with lock or consider another closure of the drawers. But even with locking you have to consider how you can install the pretty, so you can solve the lock even … My solution follows in Part 2 below.
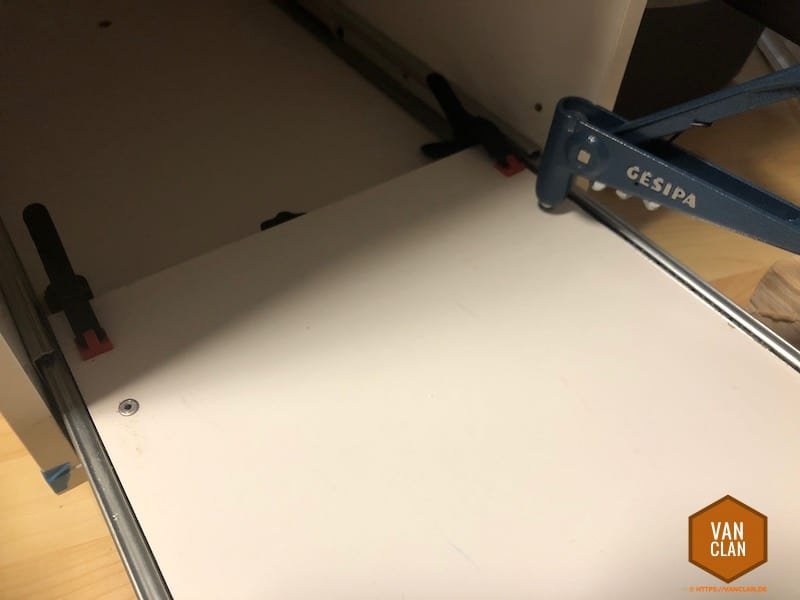
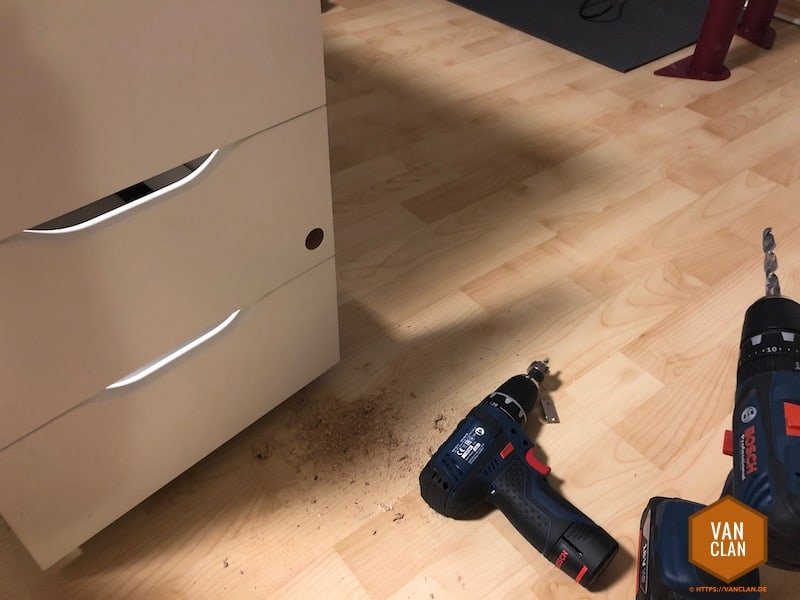
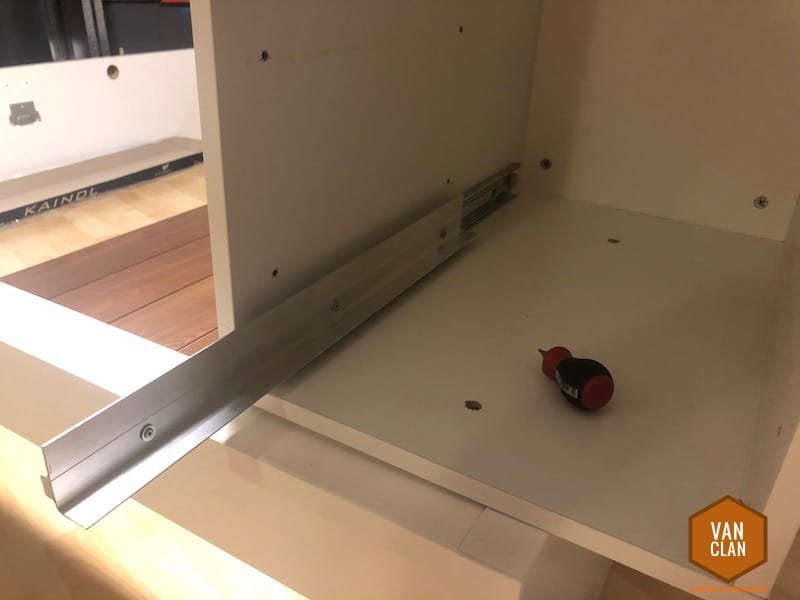 I riveted aluminum profiles to the full extension and then the original drawer bottom, which I had to cut a little narrower (just like the side walls of the drawer). It is important to remember the fixing bolts for the T5 / T6 sliding system and the fact that you attach the full extension therefore so that there is still enough space down. That’s what I say, because I did not think about it until my eyes fell on the T-bolts next to the workbench.

 Oh, good cue.
For fixing, I have chosen these T-screws that reach into the Multivan rails on the ground. In order to drill the holes on the bottom (of the cabinet, not of the bus!) properly, I marked this in addition to measuring with tape.
The advantage of this attachment is that you can attach the cabinet without much effort on the passenger side and I can decide (in my bus with only one sliding door), whether the compartments open to the outside or inward. When it opens outside, I could imagine to put a tabletop on the open drawer and then cook on it. That’s the second keyword. What I have not mentioned yet: I bought a small gas cooker with cartridge a while ago. Although I had said here (in German – maybe I translate it some day), I only want to cook in the future with the new grill, but for just hot water on the road, the grill seems to me exaggerated. The newly purchased gas cooker should fit in the upper drawer. Second argument for the rail system: The cabinet can be mounted just as well in the trunk.
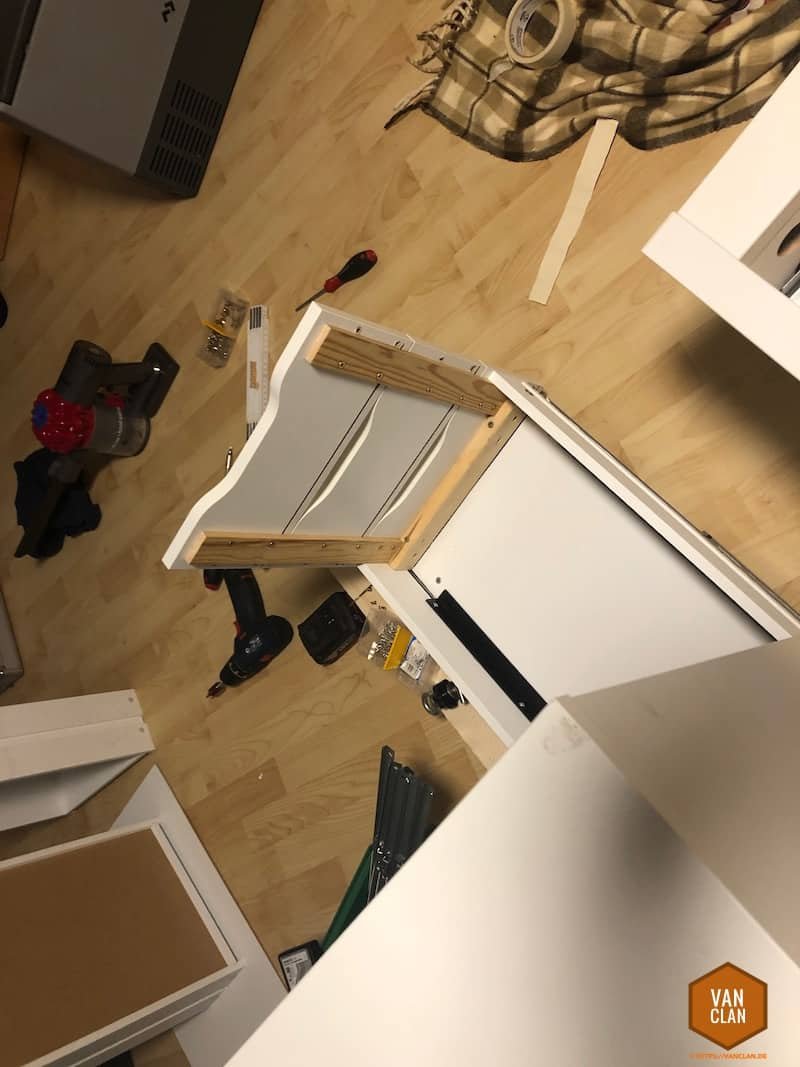 Well, the lower drawer was ready so far, only the panels had to be connected, for which I had screwed me simple wooden slats.
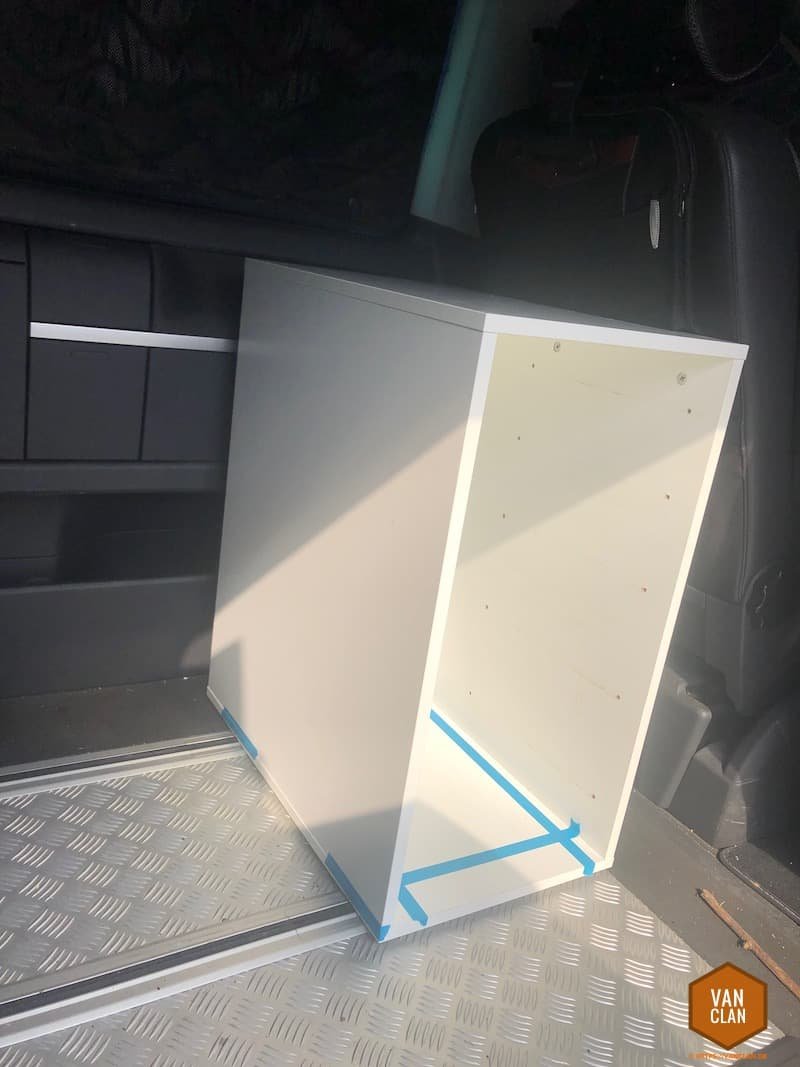
Now it’s time to transport the whole thing back into the bus and anchor it in the floor rails. Then drive around for a few days to test the stability.
End of part 1.
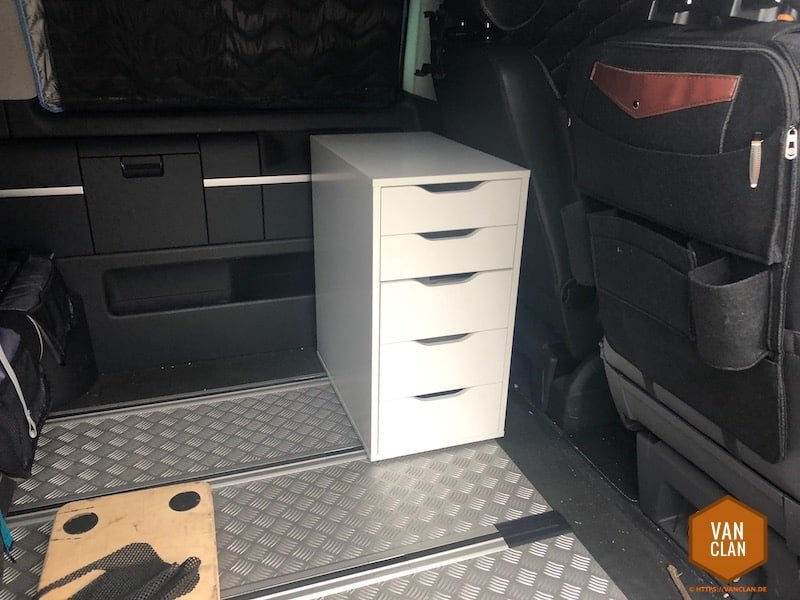
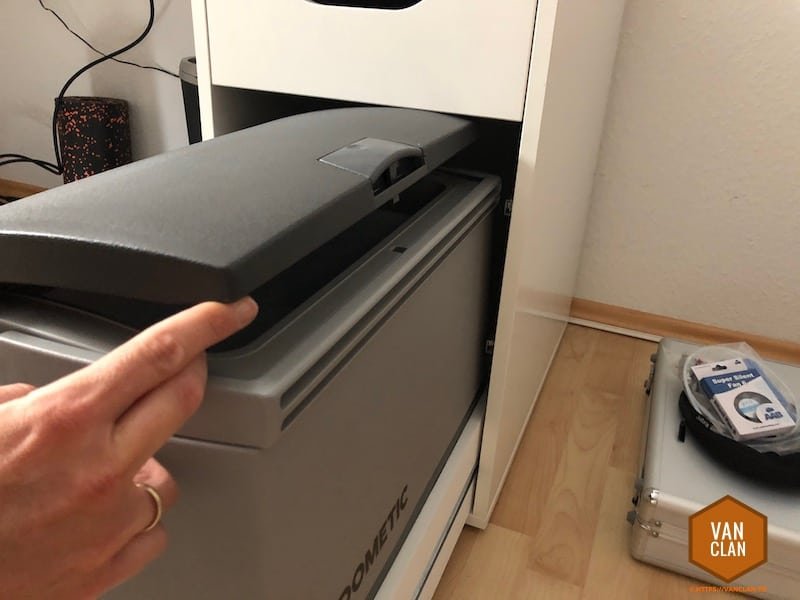
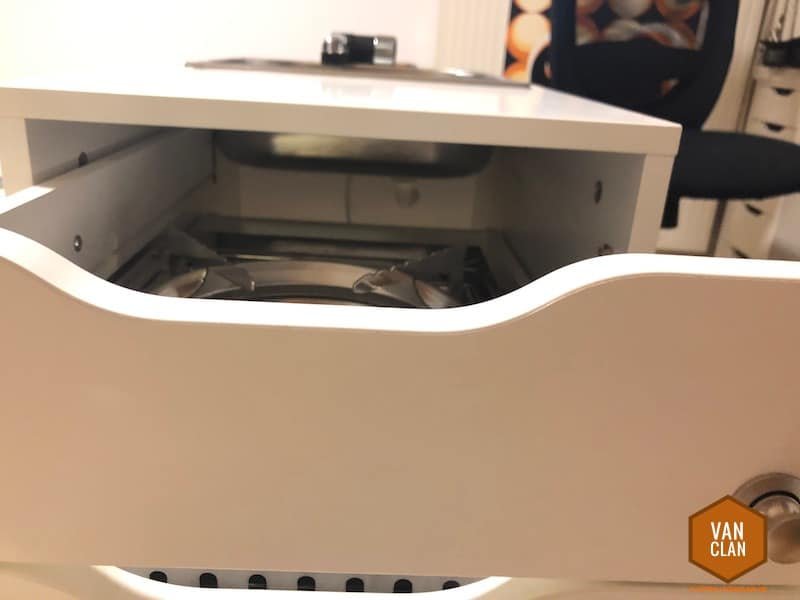
First pleasant discovery (I could say now, I would have planned that before): If you open the cool box, you can reach in comfortably from the front seats!
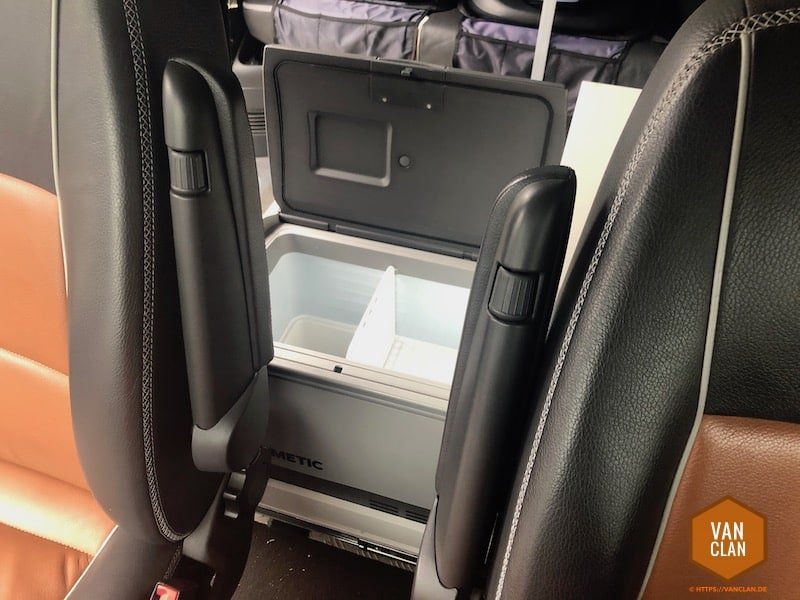
First unpleasant discovery: already mentioned – even with the empty cooler box opens the drawer at the slightest curve. So this needs to be solved. Adhoc through straps, but then more beautiful.
Part 2: drawers locks.
For lack of time, I decided not to think about it for too long, but just to make it and I ordered 5 push-lock locks. In retrospect, I only needed 2, but the rest will definitely be used at some point or serve as a replacement, if the built-in break (the quality is not the best, but they are also cheap).
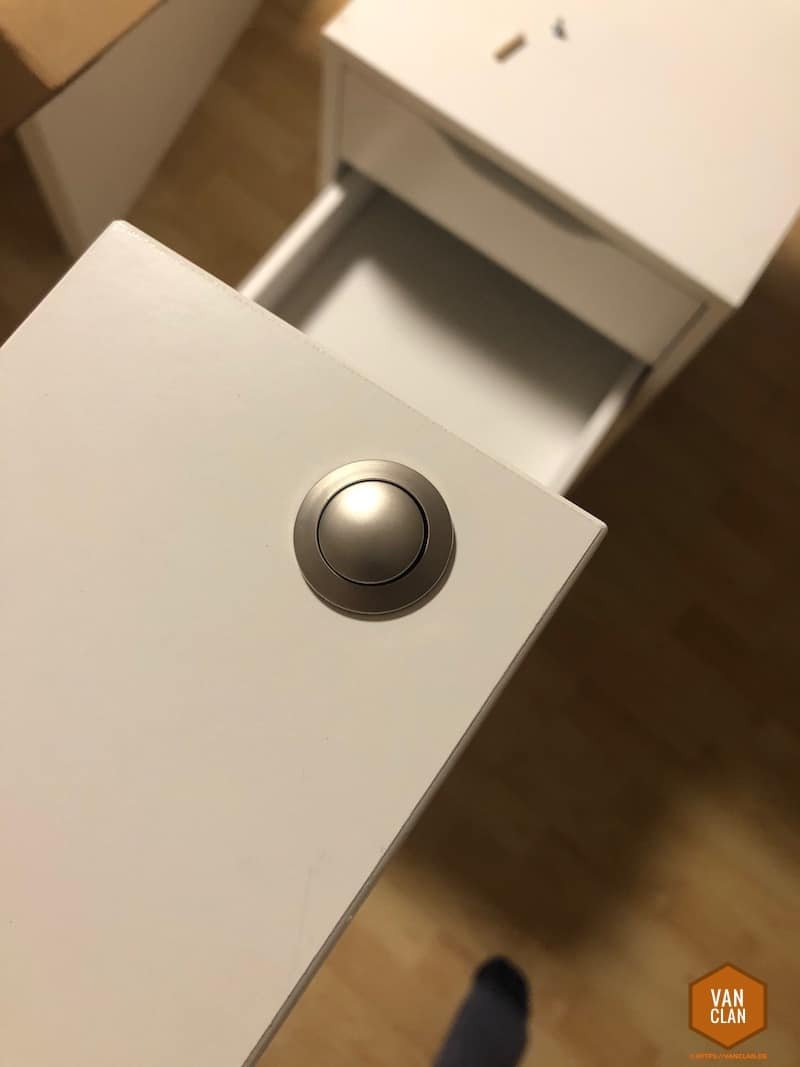
 Since felt 100 years I had from this action still a 21mm hole drill, which should now be used again. Had I not had that, I would have bought a 20mm diameter, because the lock in the 21er-hole has some play (which does not bother in the end). Or a complete set of drills…
The holes are drilled quickly, you just have to take the appropriate time before you place them properly and that way to keep them closed then also the drawer. I am more than satisfied with the result – both visually and functionally. They are relatively difficult to press, which is an advantage if you do not necessarily want the kids to play around with them all the time.
Part 3: The water system.
With the water system, I made it easy and ordered a complete carefree set (which is – by the way – unbelievable expensive for you UK-guys! I tried Amazon and Ebay, but the link now shows the German offer and it seems, they’ll send it international). If you put together the individual components, you will get away a little cheaper, but here you are relatively sure that you have everything essential in the package and not forget anything.
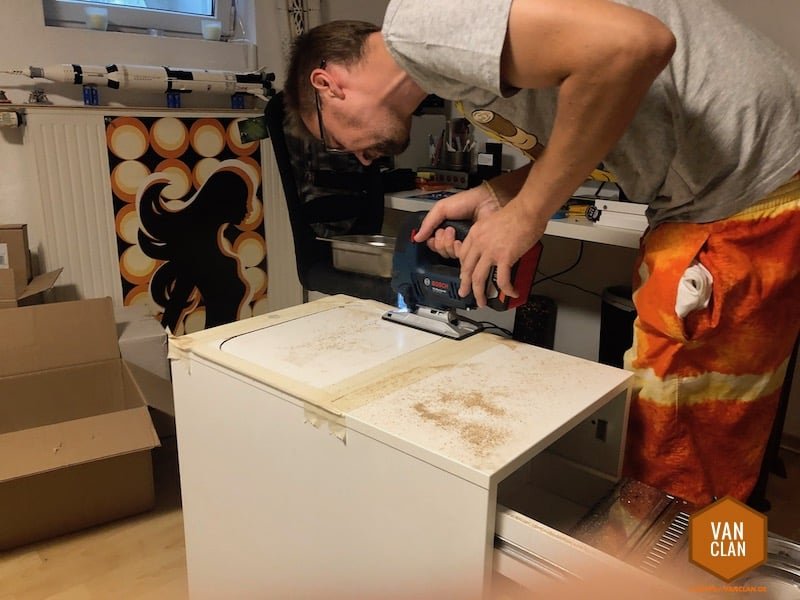
 After the set arrived, I went directly into the basement, marked the sink and sawed it out. One more hole for the faucet and one on the back of the cabinet to bring out the hoses. Finished!
 Before that, of course, I had tested it, measured it and I knew that the stove would no longer fit properly with the sink and I also had to connect the upper drawers (I had thought so long in advance and accordingly also installed the push-locks ). Nevertheless, it remains a relief now that it really fits and I can close the drawer.
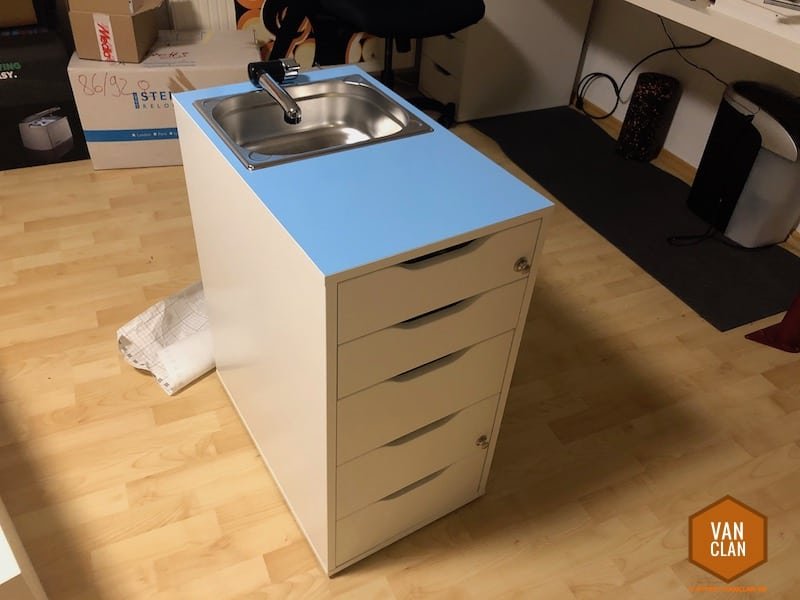 Before sticking the sink with silicone (I had decided against screws in the sheet metal), I have the „worktop“ still covered with adhesive film – here, as was often the main reason that I still had left.
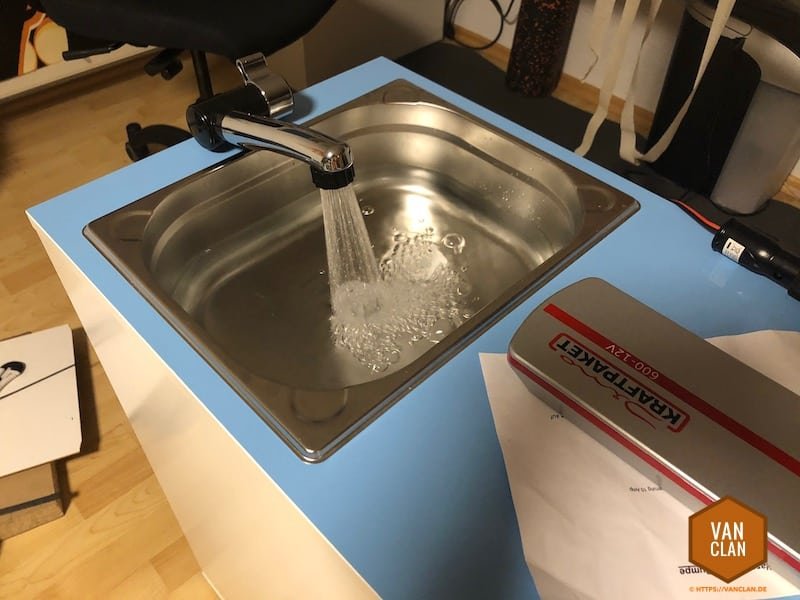 Then connect the electrical system, connect the supplied cigar lighter plug with the switch in the tap and the submersible pump in the canister. During the test run by means of my newly acquired mobile 12V connection (I have to write an extra article, because the thing is really awesome – Update: Done! Only German, sorry!), I was quickly alerted to a logic error … I do not want to talk of stupidity, but rather for self-protection from carelessness or distraction .. or deficits while thinking.
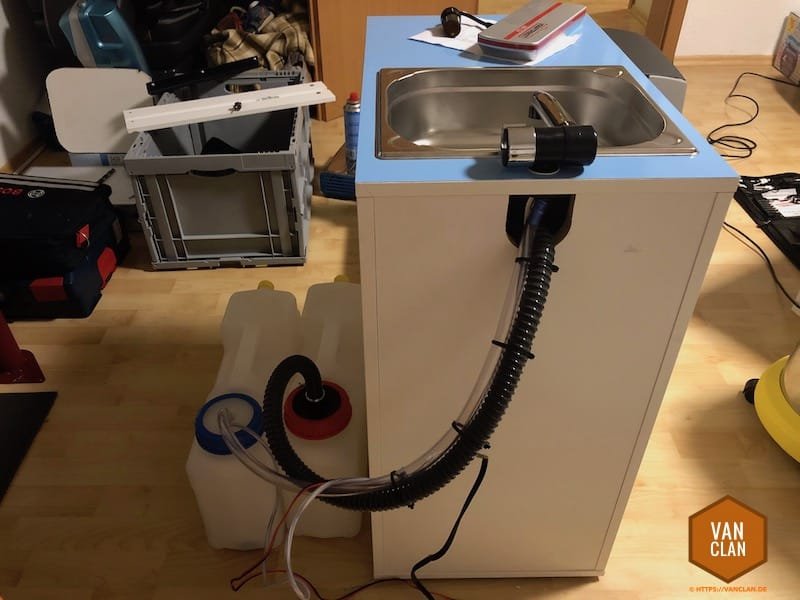 Namely, I had sawed the hole to lead out the hoses directly at the height of the top plate. This had the logical consequence that the water could only run up to this level and the misplaced hose acted like a very large sized siphon – unfortunately so big that at least one liter of water remained in the sink and I did not even want to think about it, what with it probably at the first slight braking would happen. So a second hole was drilled. Does not really hurt either, since one does not see the back for one thing anyway and on the other hand the compressor cooling box has another air hole.

For the last time, screw the whole racket into the bus and provisionally jam the water canisters between the cupboard and the driver’s seat. In the last step, I have to fix the canisters to the side of the cabinet. But this has time again, the function is now given and I honestly like it even better than I actually thought. How functional the whole thing is then and how often you really wash your hands with it and not just take a water bottle, I can not say yet. It would not be the first project that flies out again or is completely new thought.